
Last Updated on August 14, 2026 by Admin
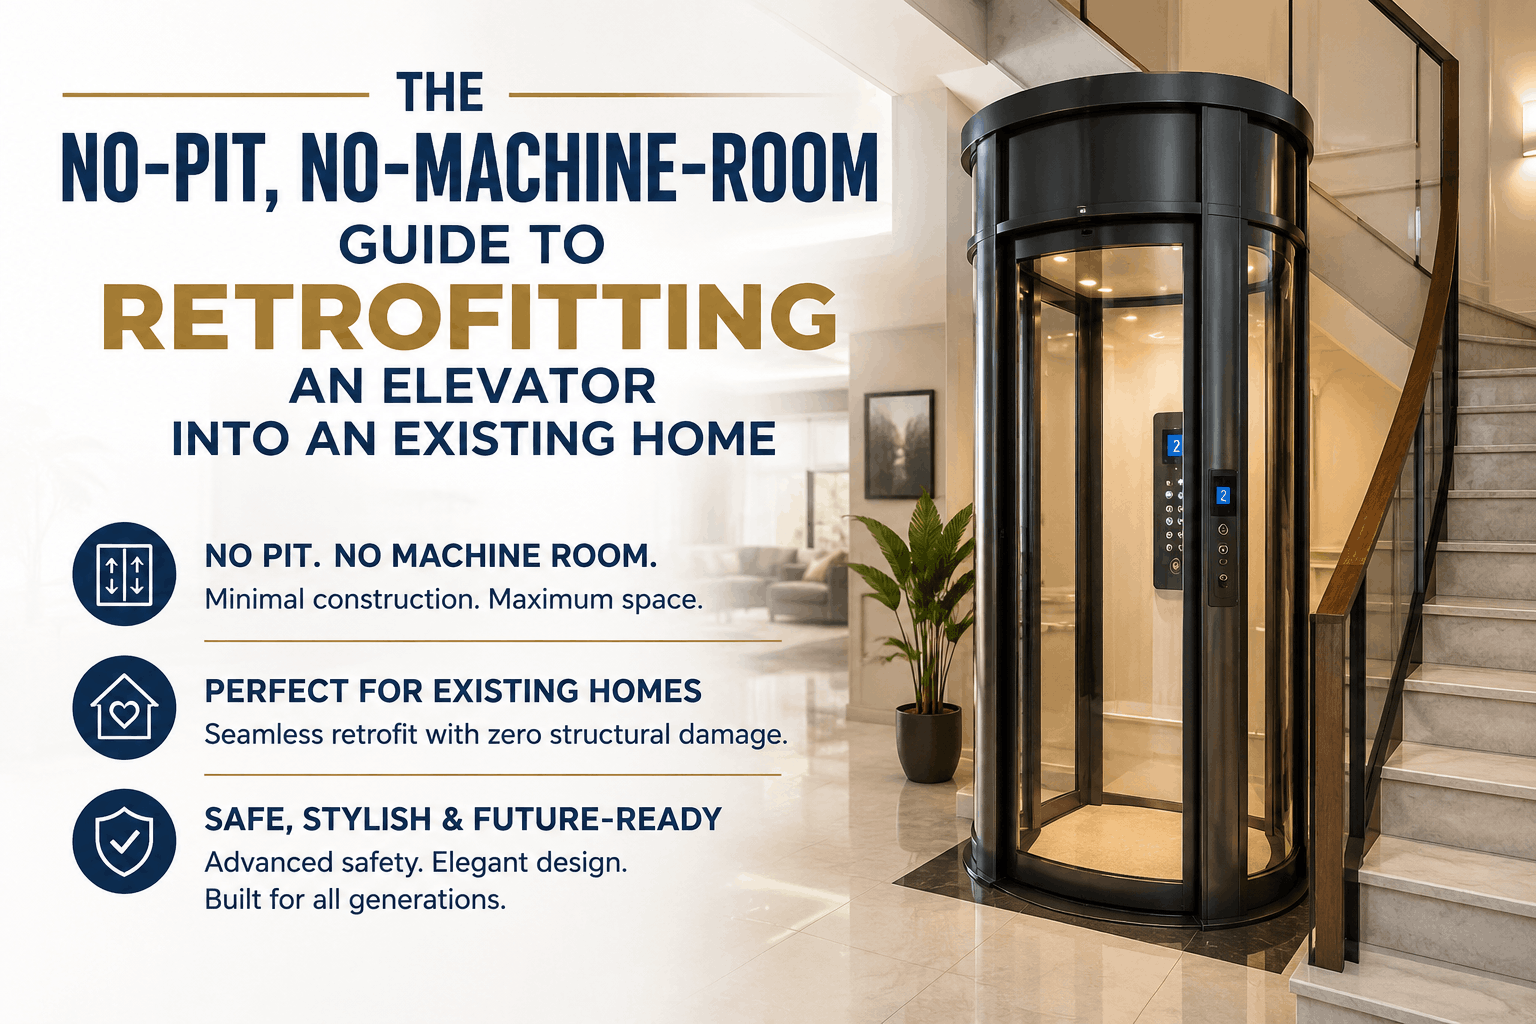
Multi-floor living in a custom bungalow, villa, or modern duplex offers luxury and privacy. However, climbing multiple flights of stairs daily can quickly become a physical challenge. Families often realize that traditional lifts require massive civil modifications—such as deep pit excavations, structural concrete shafts, and heavy roof machine rooms. The good news is that modern engineering has revolutionized residential vertical mobility. This ultimate No-Pit, No-Machine-Room Guide to Retrofitting an Elevator into an Existing Home reveals how homeowners can install a sleek, ultra-compact lift without disrupting their home’s structural foundation.
Historically, retrofitting an elevator meant breaking down concrete slabs, digging through underground water lines, and dedicating precious square footage to mechanical plant rooms. Today, advanced machine-room-less (MRL) elevators and vacuum home lifts eliminate those traditional construction nightmares. Whether you are planning for long-term aging-in-place, looking to assist family members with mobility challenges, or simply seeking to add architectural luxury to your residence, retrofitting an elevator into an existing home is now faster, cleaner, and more efficient than ever.
What is a No-Pit, No-Machine-Room Home Elevator?
A traditional commercial or high-rise elevator typically requires two massive structural components:
- An Elevator Pit: A deep pit dug 3 to 5 feet into the ground beneath the lowest floor to house heavy buffer springs, counterweights, and safety mechanisms.
- A Machine Room: A dedicated top-floor or roof room housing driving motors, heavy gearboxes, and electrical control panels.
In an existing residence, digging a pit risks hitting underground utilities, causing foundation issues, or introducing water seepage problems. Similarly, building an overhead machine room often violates roof height restrictions or requires expensive structural framing.
A pitless home elevator bypasses excavation entirely by resting directly on your finished ground level or requiring a minimal ramp of just a few centimeters. Coupled with machine-room-less technology, the drive system is housed neatly inside the hoistway shaft itself or within a compact external cabinet. This drastically reduces civil construction, protects your home’s architectural integrity, and accelerates total installation time.
Why Retrofit an Elevator into an Existing Home?
Retrofitting an elevator is no longer just an expensive luxury; it is a strategic investment in accessibility, security, and property value. Understanding why homeowners choose pitless, MRL lifts highlights how these solutions fit into modern living:
1. Aging-in-Place and Mobility Independence
As homeowners age, navigating multi-level homes becomes increasingly difficult. Installing a personal lift allows seniors to move freely across all floors without relying on caregivers or facing stair-related fall risks.
2. Zero Damage to Existing Foundations
Excavating a pit in an established house can weaken structural beams or penetrate waterproofing membranes. A pitless installation sits directly on existing marble, tile, or concrete flooring, keeping your foundation 100% intact.
3. Maximum Space Utilization
Traditional shafts consume vast amounts of horizontal floor area. Ultra-compact residential lifts feature self-supporting shafts with slim footprints—sometimes taking up less space than a standard wardrobe.
4. Significant Increase in Property Value
A well-integrated glass or panoramic villa lift instantly upgrades your home’s aesthetic appeal and market liquidity. Buyers actively seek out multi-story homes that are already future-proofed for all generations.
Core Technologies Behind Pitless and Machine-Room-Less Elevators
How does an elevator operate safely without a deep pit or a machine room? The answer lies in three main mechanical and pneumatic engineering designs:
1. Vacuum / Pneumatic Lifts
Pneumatic vacuum elevators use air pressure differentials to raise and lower the cab.
- Mechanism: High-powered vacuum pumps exhaust air from the top of the cylinder shaft to lift the cab upwards. Releasing air pressure smoothly lowers it down.
- Pit Requirements: Zero pit required. The unit mounts directly on existing floors.
- Machine Room Requirements: None. Controllers fit in a small split-unit cabinet nearby or right above the cylinder.
2. Gearless Traction Lifts (MRL)
Gearless traction systems use a Permanent Magnet Synchronous Motor (PMSM) mounted directly inside the upper shaft overhead.
- Mechanism: Flat polyurethane-coated steel belts or high-tensile steel cables lift the car quietly and efficiently.
- Pit Requirements: Ultra-shallow pit (often just 100 mm to 150 mm) or a tiny 2-inch floor recess with a small ramp.
- Machine Room Requirements: 100% Machine-Room-Less. The control panel fits inside the door frame jamb.
3. Modern Hydraulic Home Lifts
Modern residential hydraulic lifts utilize compact power packs instead of large oil tanks.
- Mechanism: A quiet hydraulic pump pushes fluid into a ram piston to drive the cab upward, using gravity for a smooth descent.
- Pit Requirements: Shallow pit depth ranging from 100 mm to 300 mm.
- Machine Room Requirements: A small cabinet (similar to a breaker box) placed under a staircase or in a nearby closet.
Where Can You Place a Retrofit Elevator in an Existing Home?
Finding space for a new elevator shaft in a completed house is easier than most homeowners expect. Here are the four most common location choices:
- Inside the Stairwell Void: Many duplexes and bungalows feature spiral or open square staircases with empty central voids. Installing a round pneumatic or clear glass elevator right down the center transforms dead space into a central design feature.
- Stacked Closets Alignment: If your layout features aligned walk-in closets, storerooms, or powder rooms across consecutive floors, engineers can cut floor-slab openings to create a hidden vertical shaft inside your floorplan.
- Corner of Living Area or Hallway: Thanks to minimal footprints (starting at less than 1 square meter), compact personal lifts fit neatly into unused living room corners or hallway alcoves.
- External Wall Installation (Glass Shaft): When interior space is limited, an external shaft attached to the outside wall provides a clean solution. The elevator connects to your home through modified doorway or window openings, giving you a scenic outdoor view as you travel.
Step-by-Step Guide to Retrofitting an Elevator into an Existing Home
Retrofitting an elevator requires careful planning, technical precision, and experienced engineering. Here is the process professional lift installers follow:
Step 1: Professional Site Assessment & Structural Survey
Before choosing a model, an engineering team inspects your home’s architectural drawings, wall structural integrity, slab strength, and ceiling heights. They verify electrical supply panels and ensure no plumbing or electrical conduits block the proposed vertical path.
Step 2: Choosing Drive Technology & Custom Finishes
Select the drive mechanism (Pneumatic, Gearless MRL Traction, or Hydraulic) that matches your usage needs, budget, and design aesthetic. Customize cabin interiors withoptions like transparent glass panels, brushed stainless steel, warm wood veneers, or integrated LED mood lighting.
Step 3: Minor Civil and Electrical Site Preparation
Unlike heavy commercial installations that take months of civil construction, retrofitting a pitless elevator requires minimal prep work:
- Precision diamond-blade floor cutting for upper-level slab penetrations.
- Installation of a dedicated electrical circuit with breaker protection.
- Minor wall finishing and framing around the designated hoistway.
Step 4: Shaft Modular Assembly and Cabin Installation
The self-supporting elevator structure arrives in pre-engineered, modular components. Technicians assemble the frame, mount the guide rails, align the drive motor, and position the cabin inside the shaft with mechanical accuracy.
Step 5: Safety Checks, Commissioning, and Testing
Once assembled, certified technicians execute rigorous multi-point testing protocols. They test automatic emergency rescue devices (ARD), door safety light curtains, overload sensors, emergency lowering systems, and mechanical speed governors to guarantee 100% passenger safety.
Critical Safety Features You Must Look For
Safety is non-negotiable when installing a vertical lift inside a private residence. Modern home lifts incorporate advanced safety systems to protect family members of all ages:
- Automatic Rescue Device (ARD): In the event of a power outage, the ARD system uses backup batteries to automatically drive the cabin to the nearest floor and open the doors safely.
- Infrared Door Curtains: Invisible light sensors span the door opening. If a child, pet, or object breaks the beam, the doors instantly stop closing and reopen smoothly.
- Emergency Manual Lowering: Mechanical release valves or manual lowering wheels allow passengers or family members outside to safely lower the cab during an emergency.
- Overload Protection Sensors: Weight sensors prevent the elevator from operating if the maximum load capacity is exceeded.
- In-Cabin Emergency Communication: Integrated landline connections, GSM dialers, or intercom systems ensure instant communication with help if needed.
Cost Factors When Retrofitting a Residential Lift
The cost of retrofitting an elevator into an existing home depends on several technical and customization variables:
- Number of Stops/Floors: A lift serving 2 floors (G+1) costs less than a system serving 4 floors (G+3) due to rail lengths, wiring, and door mechanisms.
- Drive System Type: Vacuum pneumatic lifts and gearless MRL traction lifts carry higher initial technology costs, but save significant money on civil excavation and monthly power consumption.
- Custom Finishes: Premium glass enclosures, touch-screen cabin operating panels, titanium-finish stainless steel, and custom flooring increase overall material costs.
- Structural Site Modifications: Minimal slab cutting incurs lower costs compared to building an external glass-and-steel shaft structure.
Pro-Tip: While a traditional lift may seem cheaper upfront, hidden costs like digging a pit, waterproofing, constructing concrete shaft walls, and building a roof machine room often make pitless MRL elevators far more economical overall.
Maintenance and Energy Efficiency Considerations
Modern machine-room-less residential lifts operate on standard single-phase power supply (220V/230V), consuming roughly the same energy as a standard home refrigerator or washing machine.
To ensure long-term performance, choose a vendor that offers dedicated Annual Maintenance Contracts (AMC). Routine preventive maintenance checks mechanical lubrication, door alignments, battery health, and safety switches—ensuring smooth, silent rides year after year.
Why Horizon Elevators is Your Premier Home Retrofit Partner
Retrofitting a personal lift into an existing property requires precision engineering, deep technical domain knowledge, and uncompromising safety standards. At Horizon Elevators, we specialize in bespoke vertical mobility solutions designed specifically for Indian residential architecture.
Our expert engineers walk with you through every phase of the project—from initial site feasibility surveys and 3D interior design mockups to clean, non-disruptive installation and 24/7 post-installation maintenance. Whether you need an ultra-compact pneumatic lift for a tight stairwell or a panoramic villa elevator for your luxury home, we deliver custom-tailored installations backed by international safety certifications.
Explore our complete range of compact personal lifts for multi-floor residences. Learn more about our comprehensive lift installation and modernization services, or view our complete guide to residential elevator costs and planning.
For external engineering guidelines on home safety and elevator design standards, review the authoritative technical standards published on National Building Code Guidelines.
Frequently Asked Questions (QnA)
Q1: Is it really possible to install a home elevator without digging a pit?
Yes. Modern pitless elevators are designed to rest directly on your existing finished floor or require a shallow floor recess of just 50 mm to 100 mm. This completely eliminates heavy civil excavation and preserves your home’s foundation.
Q2: How much space is required to retrofit an elevator into an existing home?
Compact personal lifts require remarkably little space. Certain pneumatic vacuum lifts and mini-traction lifts require an outer footprint as small as 1 square meter (approx. 3 ft x 3 ft), making them easy to install inside stairwell voids or closet spaces.
Q3: How long does it take to retrofit a pitless, machine-room-less elevator?
Because civil construction is minimal, the actual on-site installation of a pitless MRL home elevator typically takes between 3 to 7 days once site preparation is complete.
Q4: What happens if there is a power outage while I am inside the elevator?
You will never be trapped. Modern residential elevators come standard with an Automatic Rescue Device (ARD) and battery backup systems. During a blackout, the system automatically lowers the car to the nearest floor and opens the doors safely.
Q5: Can a pitless elevator be installed on an upper floor without ground contact?
Yes. Because pitless elevators are lightweight and self-supporting, they can be mounted starting from the first floor or mezzanine level, provided the supporting floor slab meets standard structural weight bearing requirements.
Q6: How noisy are machine-room-less home lifts?
MRL elevators operate quietly. Gearless PMSM motors and pneumatic drive systems run at noise levels below 50 decibels—equivalent to a quiet household refrigerator or soft conversation.